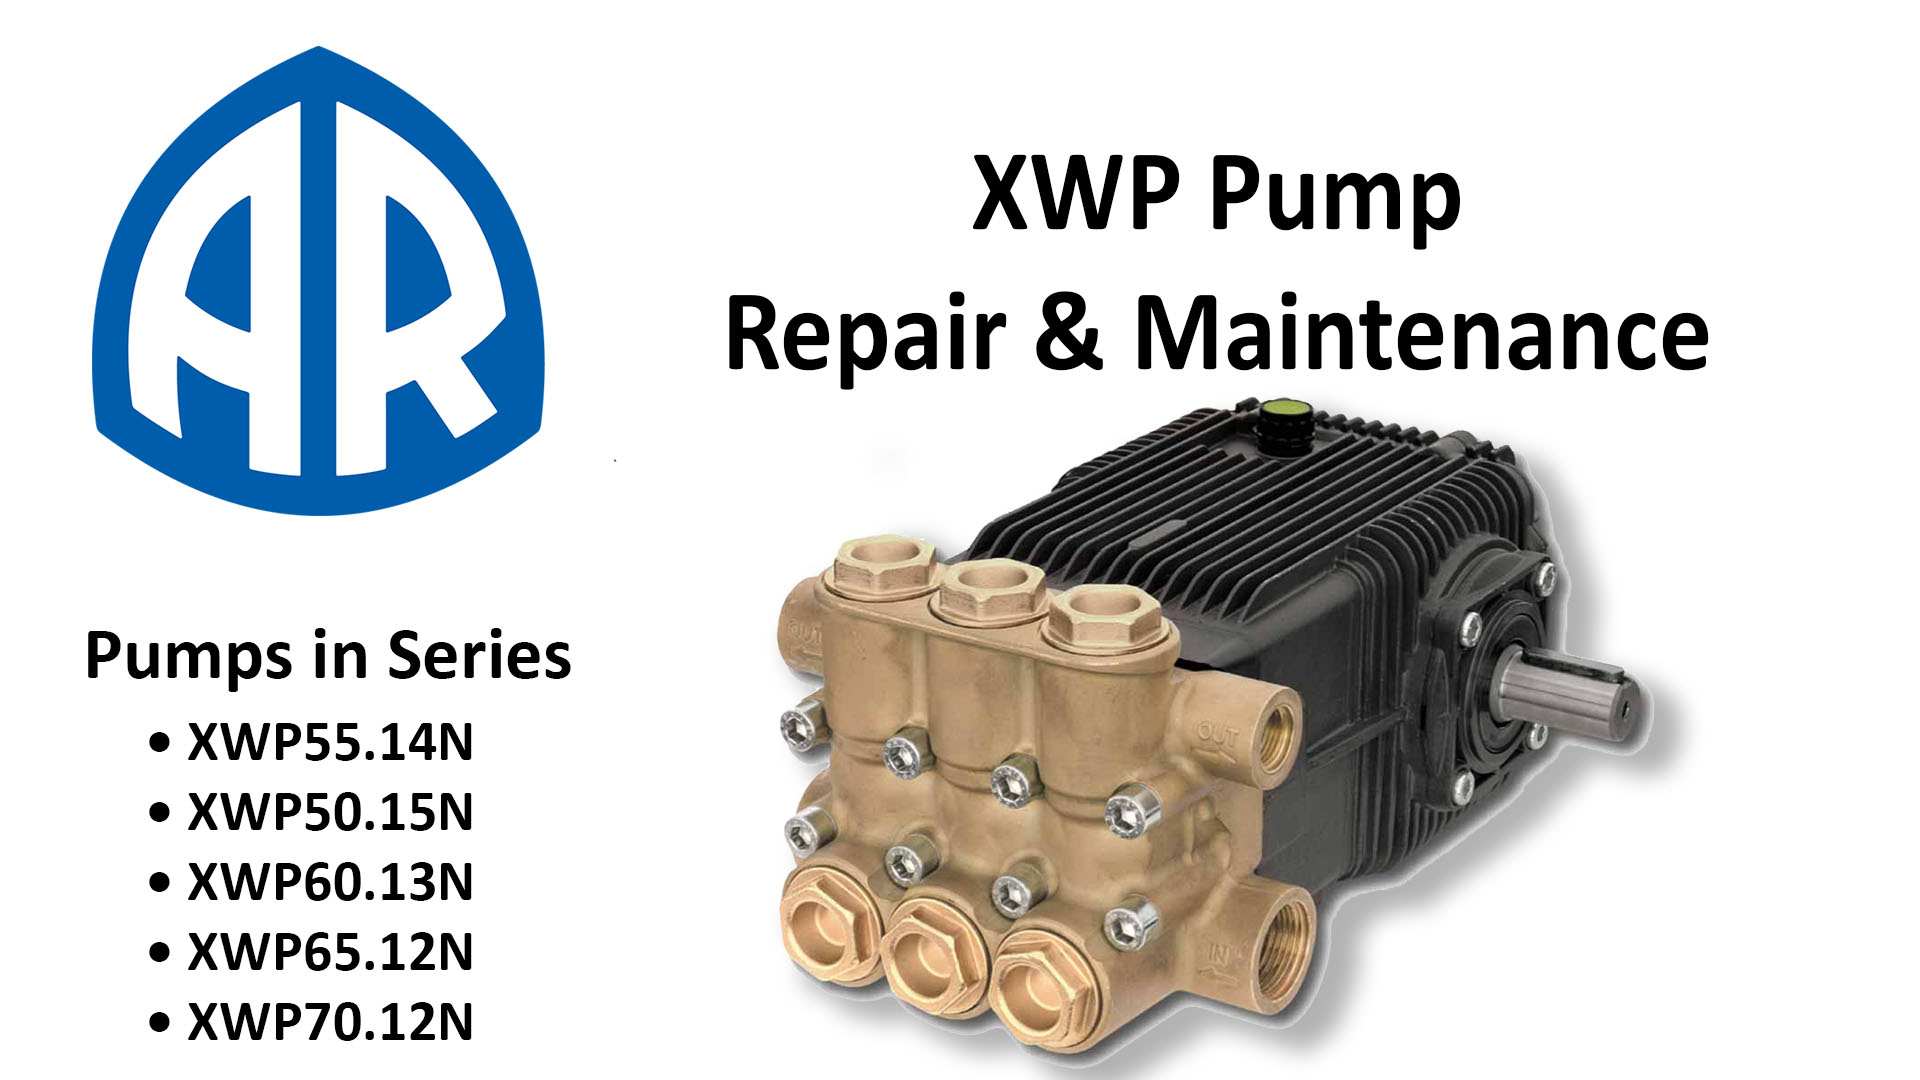
Annovi Reverberi AR XWP Series Repair And Maintenance Video
This video will cover the XWP series triplex plunger pumps and how to replace the Inlet and discharge valves along with the pistons, seals and guides. Pumps included includes: XWP55.14N, XWP55.14N, XWP50.15N, XWP60.13N, XWP65.12N and XWP70.12N.
0:18 Inlet & Discharge Valves
2:18 Water Seals & Guides
5:07 Pistons
Find the XWP series triplex plunger pumps breakouts here:
arnorthamerica.com/pages/parts-breakdown/pumps/
Buy replacementXWP series triplex plunger pumps here:
arnorthamerica.com/categories/plunger-pumps/commercial-pumps
Service Dealers (buy parts here):
arnorthamerica.com/Pages/services/service-dealers/
To replace the 6 inlet and discharge valves on the XWP series triplex plunger pumps remove the valve caps on the manifold with a 32mm socket
Next, using a pair of needle nose or valve pliers remove the valves by grabbing the plastic valve cage while twisting and pulling straight out
The inlet and discharge valves may look similar but they are not the same.
The bottom inlet valves have a silver spring with less resistance and the discharge valves on the top have a black spring with more resistance
Make sure to clean the thread sealer off of the plugs and the ports for your valves to prevent damage when reassembling it
Put in the new valves, making sure they are properly seated and in the correct spot
Apply a thin layer of thread sealer all the way around the threads when reinstalling the valve caps
Make sure to torque the caps to 2212 Inch pounds or 185 foot pounds before the adhesive dries
Never use the airgun when re-assembling your machine because this can lead to injury to you or damage to your pump
To access the pistons and their guides start by removing the 8 head bolts with an 8 MM allen socket.
To take off the head, rotate the crankshaft with a wrench to help push it off of the pistons
This allows enough space to support the bottom of the head and push off with your thumbs
Be careful not to apply too much pressure to one side of the head because this can crack the ceramic pistons
Once the manifold is off there will be parts either on the pistons or still in the head of the machine.
To remove parts off of the pistons start by using a wrench or your hand to rotate the crankshaft, this will push the parts towards the end of the piston making them easier to twist off.
The best way to take the parts out of the head is to use a rear piston guide extractor, which we sell on our website.
If the seals can't be taken out by hand, use a small flathead screwdriver to pry them out without scratching the inside of the pump.
The first item to go into the manifold will be the head ring with the flat side facing down
Next comes the high-pressure seal, its concave side should fit over the support ring
New seals are tough to fit in, make sure to work them in at an angle and to only use your hands
The front piston guide comes next with its smaller side going into the head first
To put the rear piston guide in first replace the o ring on the outside, then place in the brown backup ring into it
The low-pressure seal goes on top of the backup ring with its concave sticking out of the guide
If the guide is put in squarely it should click into place
To replace the pistons, remove the piston bolt using a 10 mm socket.
If you are not replacing the pistons make sure to scrape off any residue that has accumulated on the outside
Make sure to Scrub off anything you missed with the knife
Once your parts have been thoroughly cleaned you can put the copper plate and the piston back on
Add the copper washer back on and Again, make sure to clean off any thread sealant from the bolts before putting them back in
Now we can apply a small amount of thread locker all the way around the bottom on the piston bolt before retightening them
Torque the piston bolt to 62 inch pounds
To properly put on the manifold turn the crankshaft so that the outer pistons are even
This helps with pushing the head back on squarely
New seals may be tight, so you can use a soft faced hammer to evenly tap the head into place while supporting it
These head bolts should be torqued to 442 inch pounds or 37 foot pounds
Torquing in a crisscross manner can help evenly tighten the head onto the pump.
If you have any additional questions about XWP series triplex plunger pumps don't hesitate to contact us.